


Insiders Content images
The first thing we need to do before uploading the images, is to create a folder to house the images.
Located under the DNZ Content images, find the content images folder (483140), within this folder scroll down to "Insiders folder" (860007)
Find the category folder, for this example we'll use “Kids”

Right click on the category folder
Hover over "Create new" then click Folder

Add name
Make link type “Hidden Link”

Asset created successfully window

The new folder will appear at the bottom of the asset tree

Add images to the folder (Two ways)
Option 1 - Individual
Right click on the folder
Create new - File - Image
Fill out the required fields
Click edit & make the asset live - Hit save


Option 2 - Bulk upload
If you have bulk images to upload, use this option
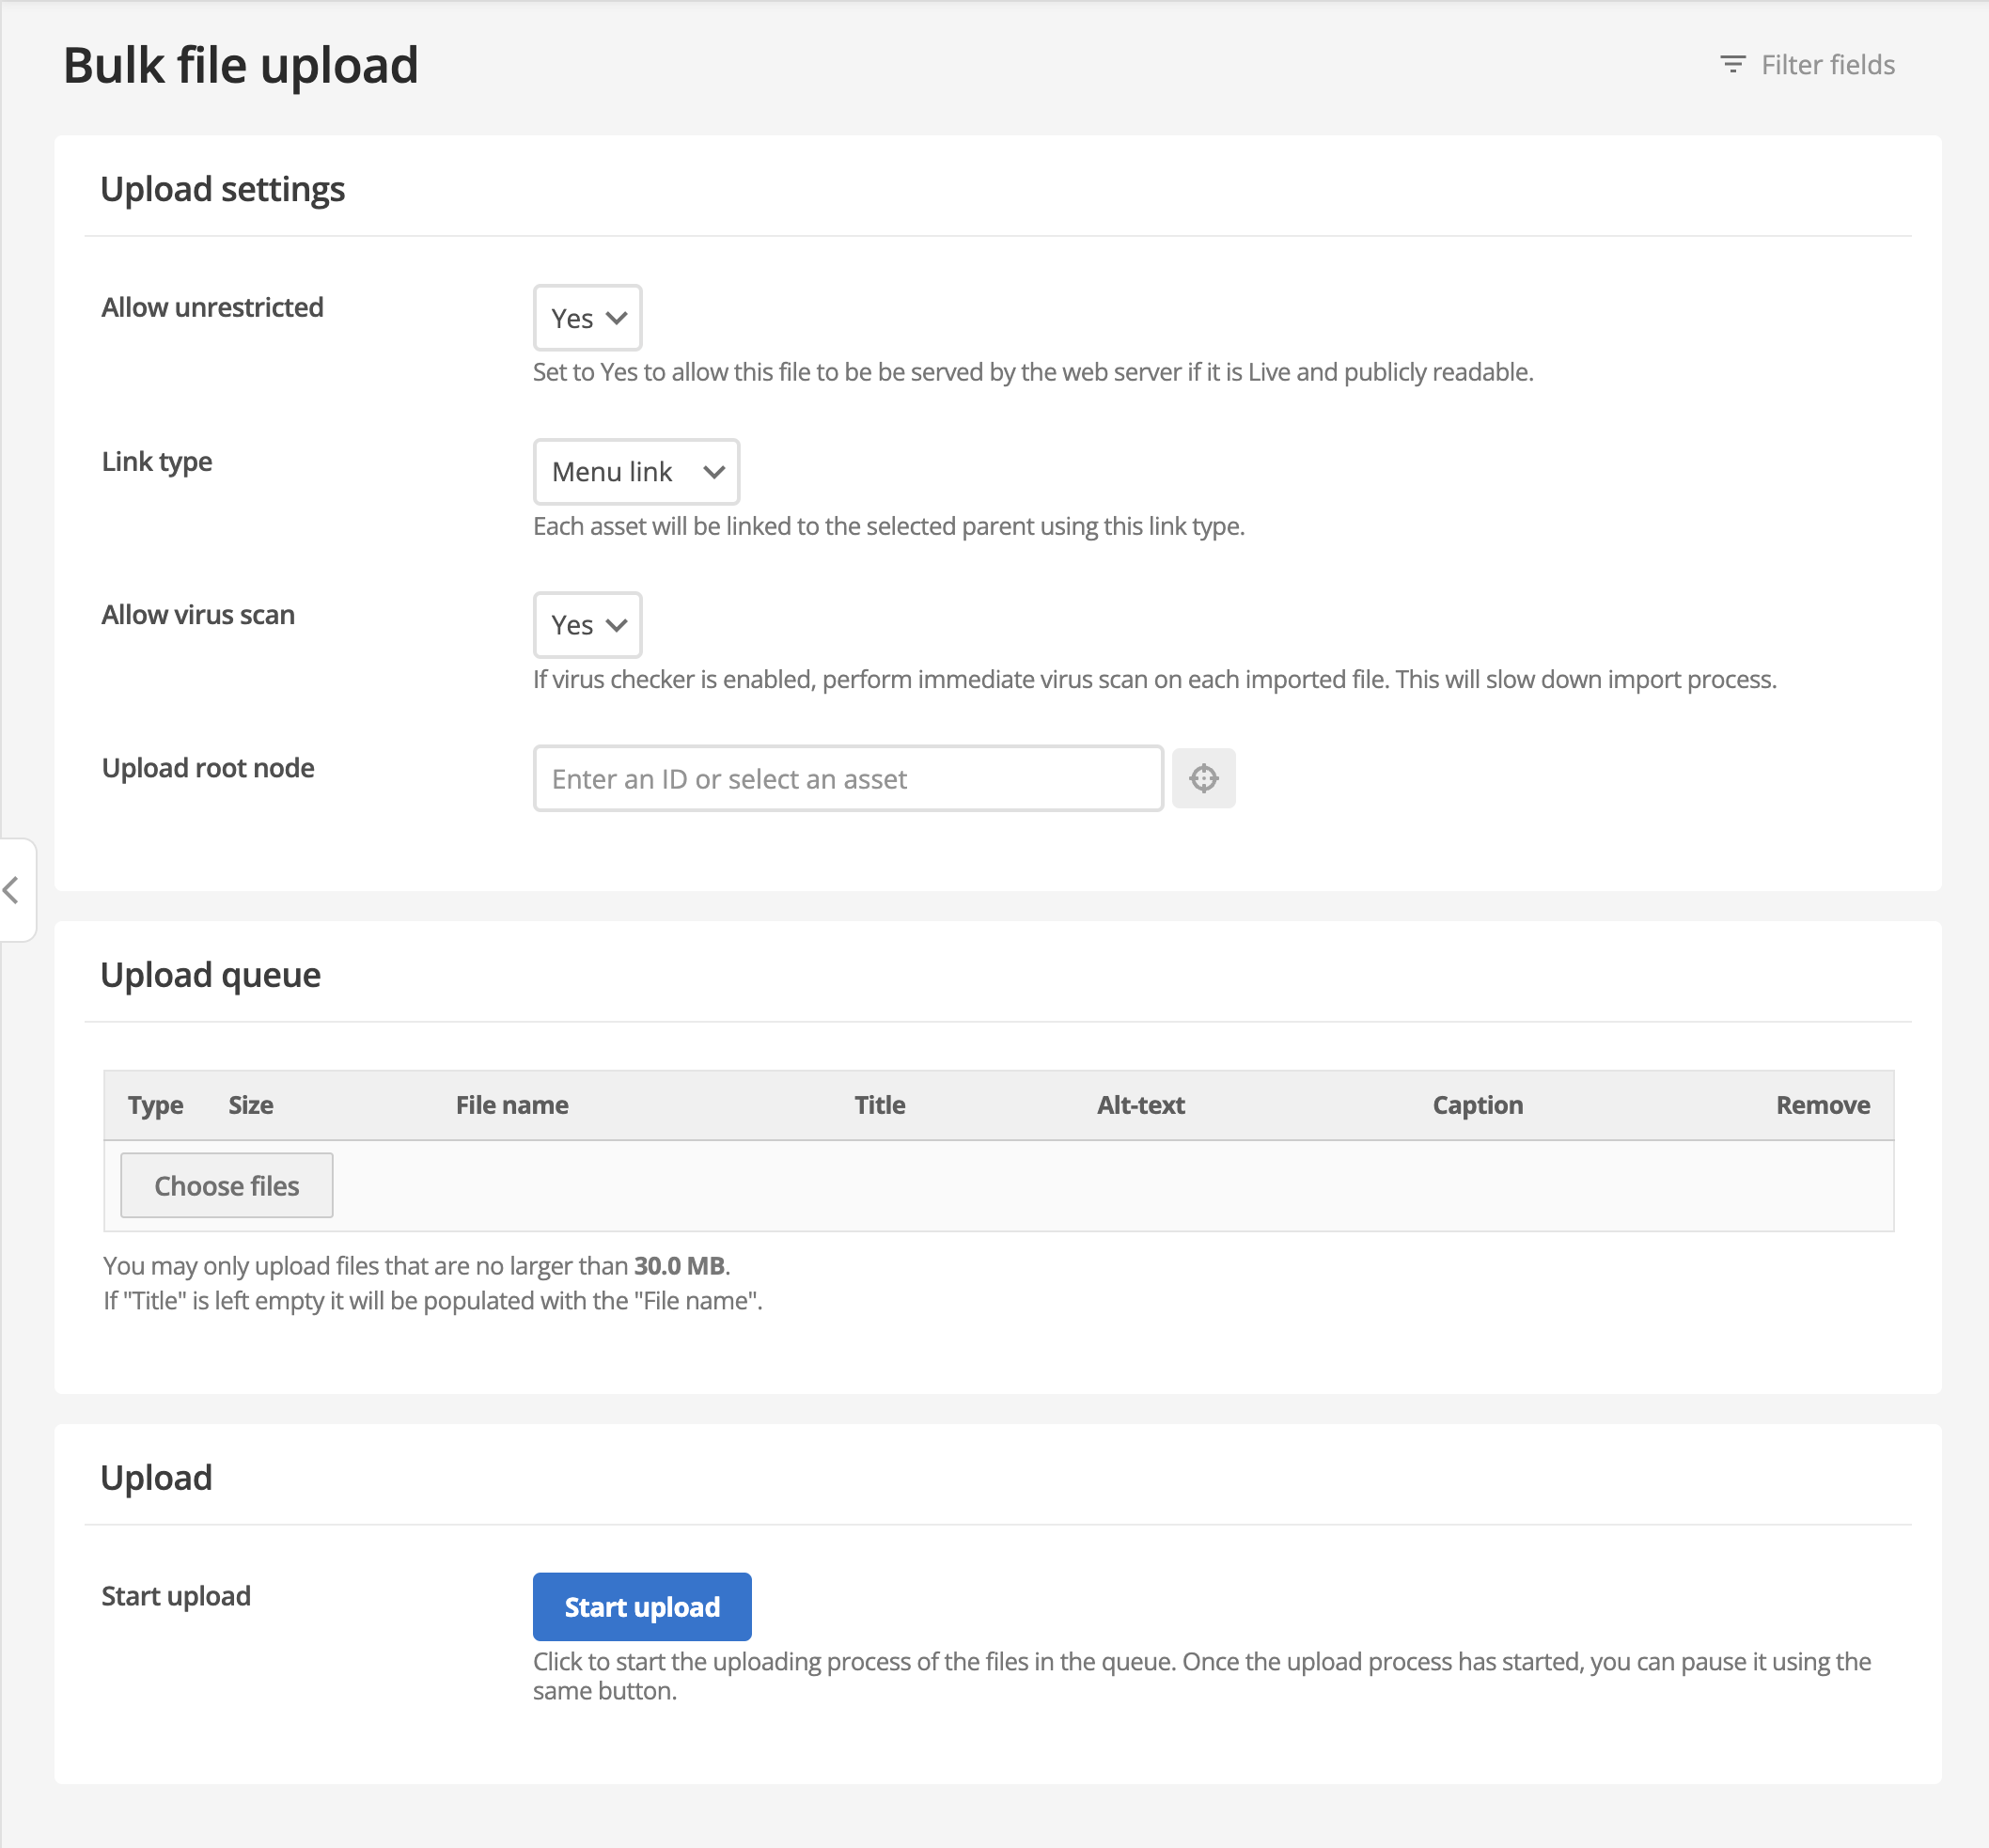
Click on the tool icon (spanner) up in the toolbar strip at the top & select “Bulk file upload”

On the bulk file upload screen
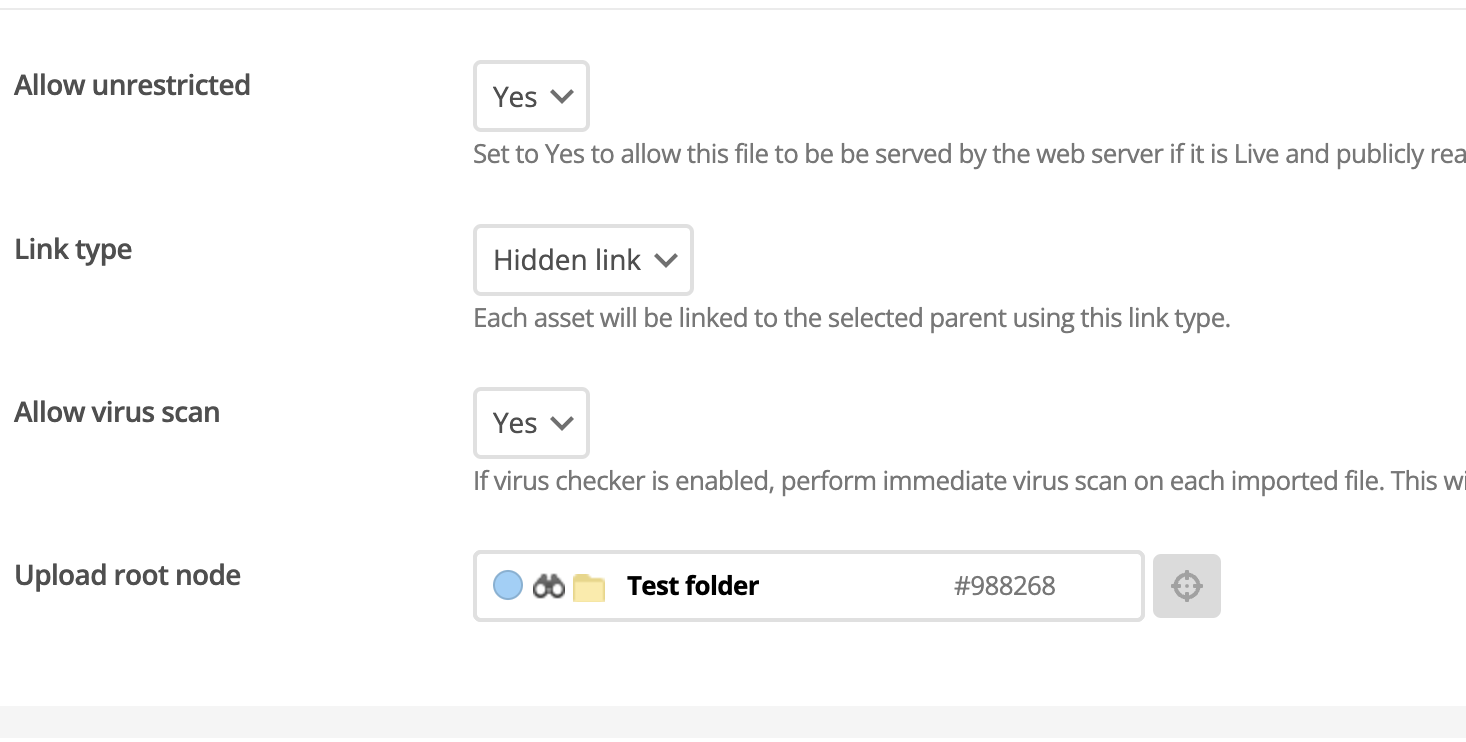
- Change link type to “hidden link”
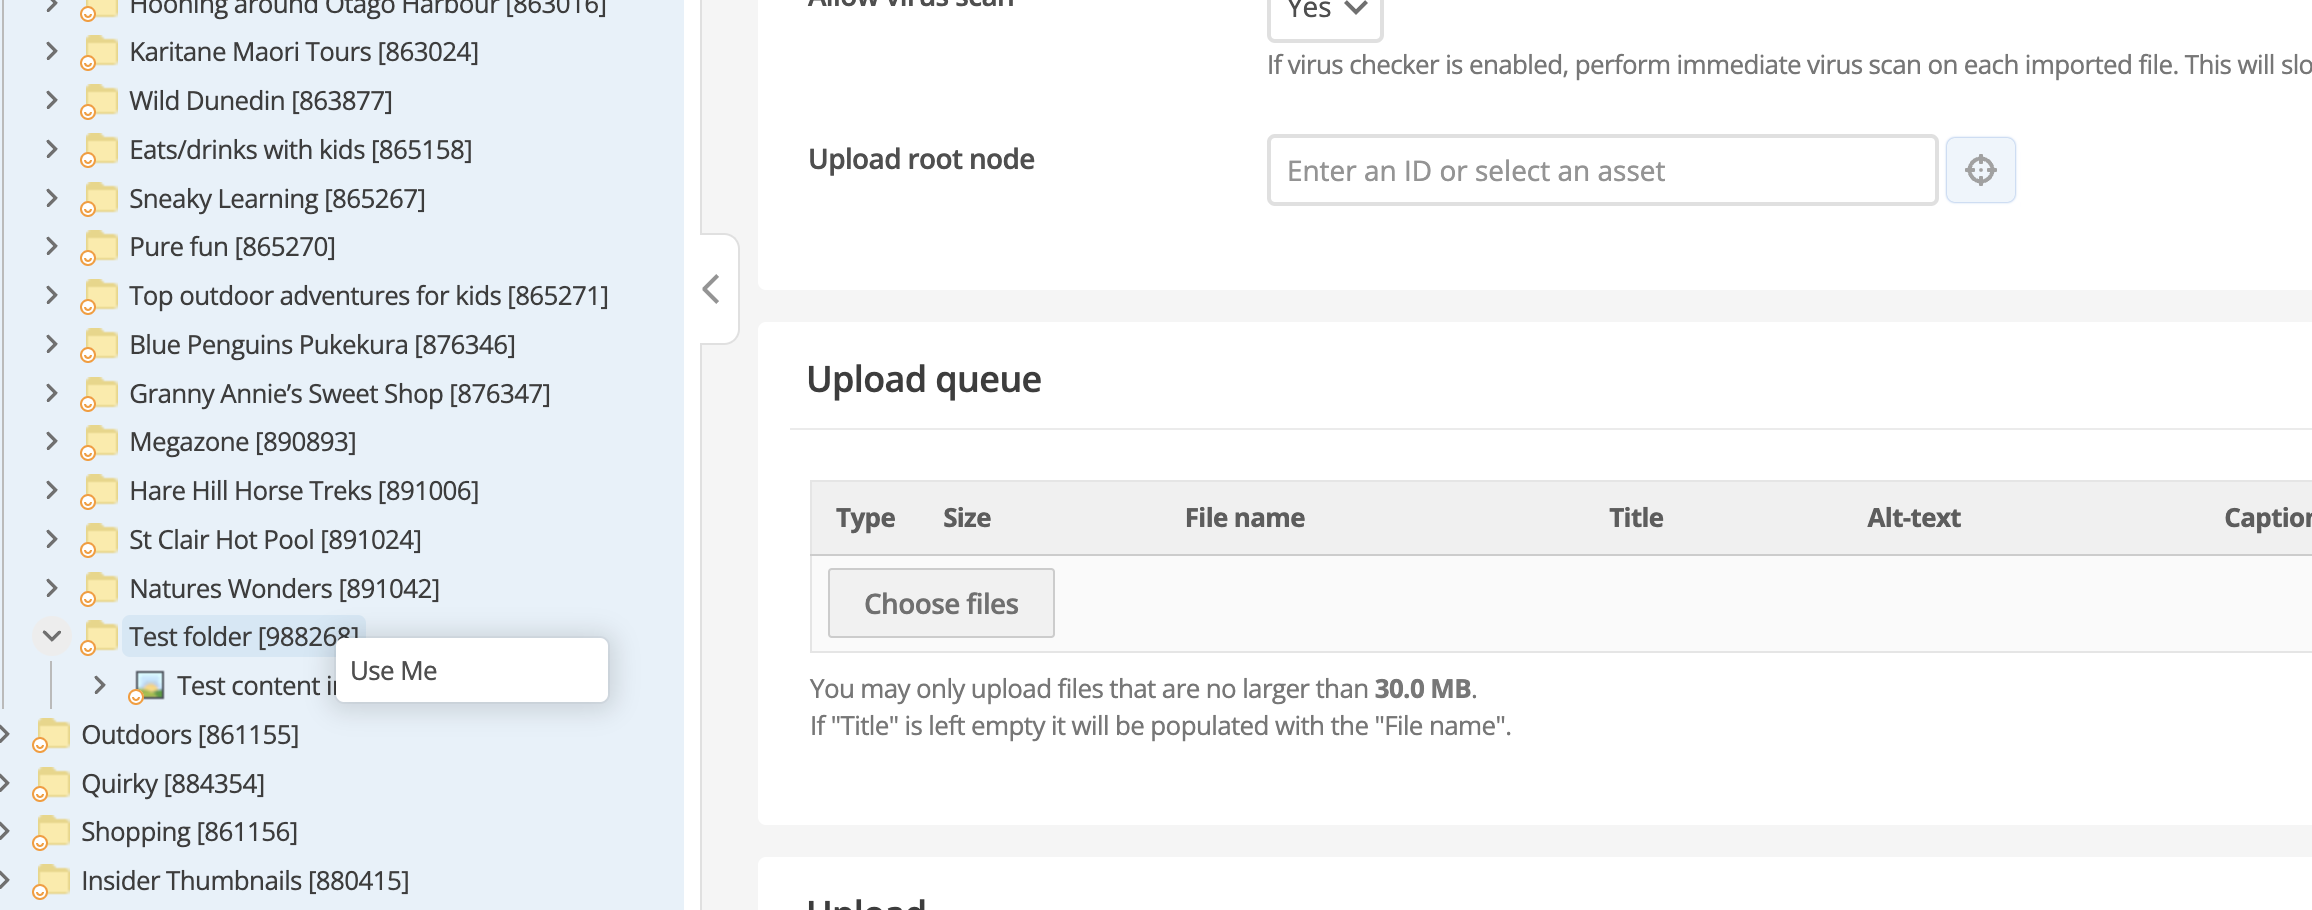
- Upload root node
Click on the asset finder icon, then right click on the folder you want to store the images, click ‘use me’
Click on ‘choose files’, select the images, fill out the Titles & Alt-text of each image
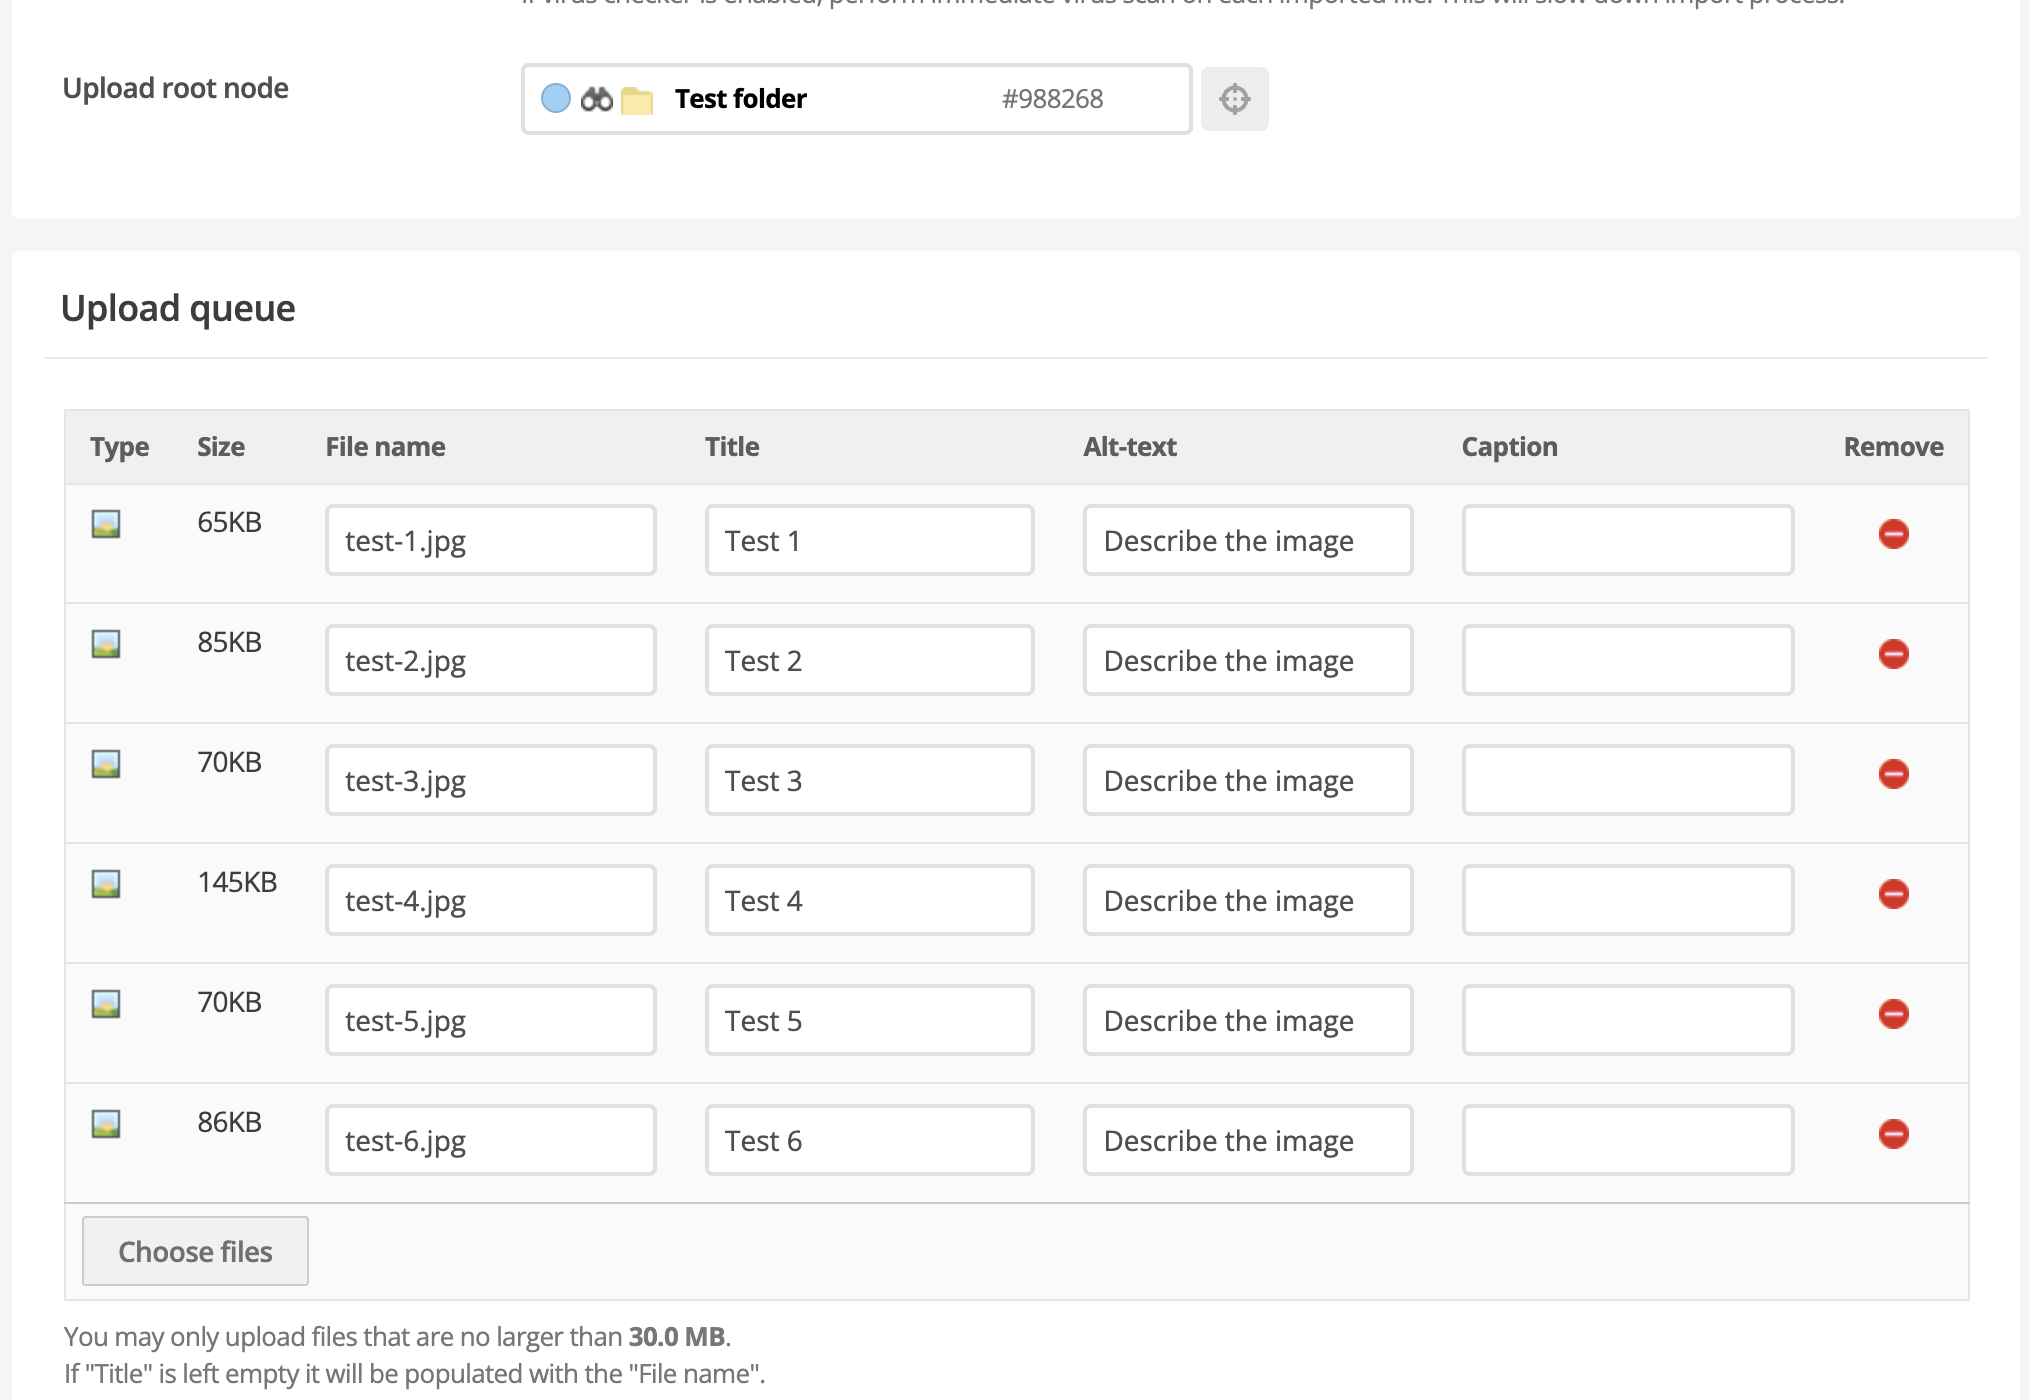
Hit the “Start upload” button
Once the files have uploaded, right click on the folder & choose details
Change the status to Live & check “Casacade status change” & hit save.